

How To Draw Glass Copic Markers
Copic Markers appeared on my radar almost two years ago and I oasis't looked back since. It was effectually the time I started my Instagram page, and my followers could run across how the collection of 5 markers was growing slowly and how much could be accomplished with only a few pens. For my ink drawings, I often limit my usage of markers; a few colours can create refreshing works, while using as well many can take the opposite outcome.
I'm proud and happy to be able to inspire over 600,000 followers with my daily drawings. Working in the office and studying during the day, I know how hard it is to find the energy and motivation to draw after piece of work or school, but I try to tell anybody to never surrender their passions. I started out past spending a few minutes every evening on sketching, but the joy that finished epitome brings me is so strong that these days I can spend the whole dark drawing without noticing!
Each colour is featured in no more than three elements. This adds rhythm and harmony to the painting.
Asia Ladowska
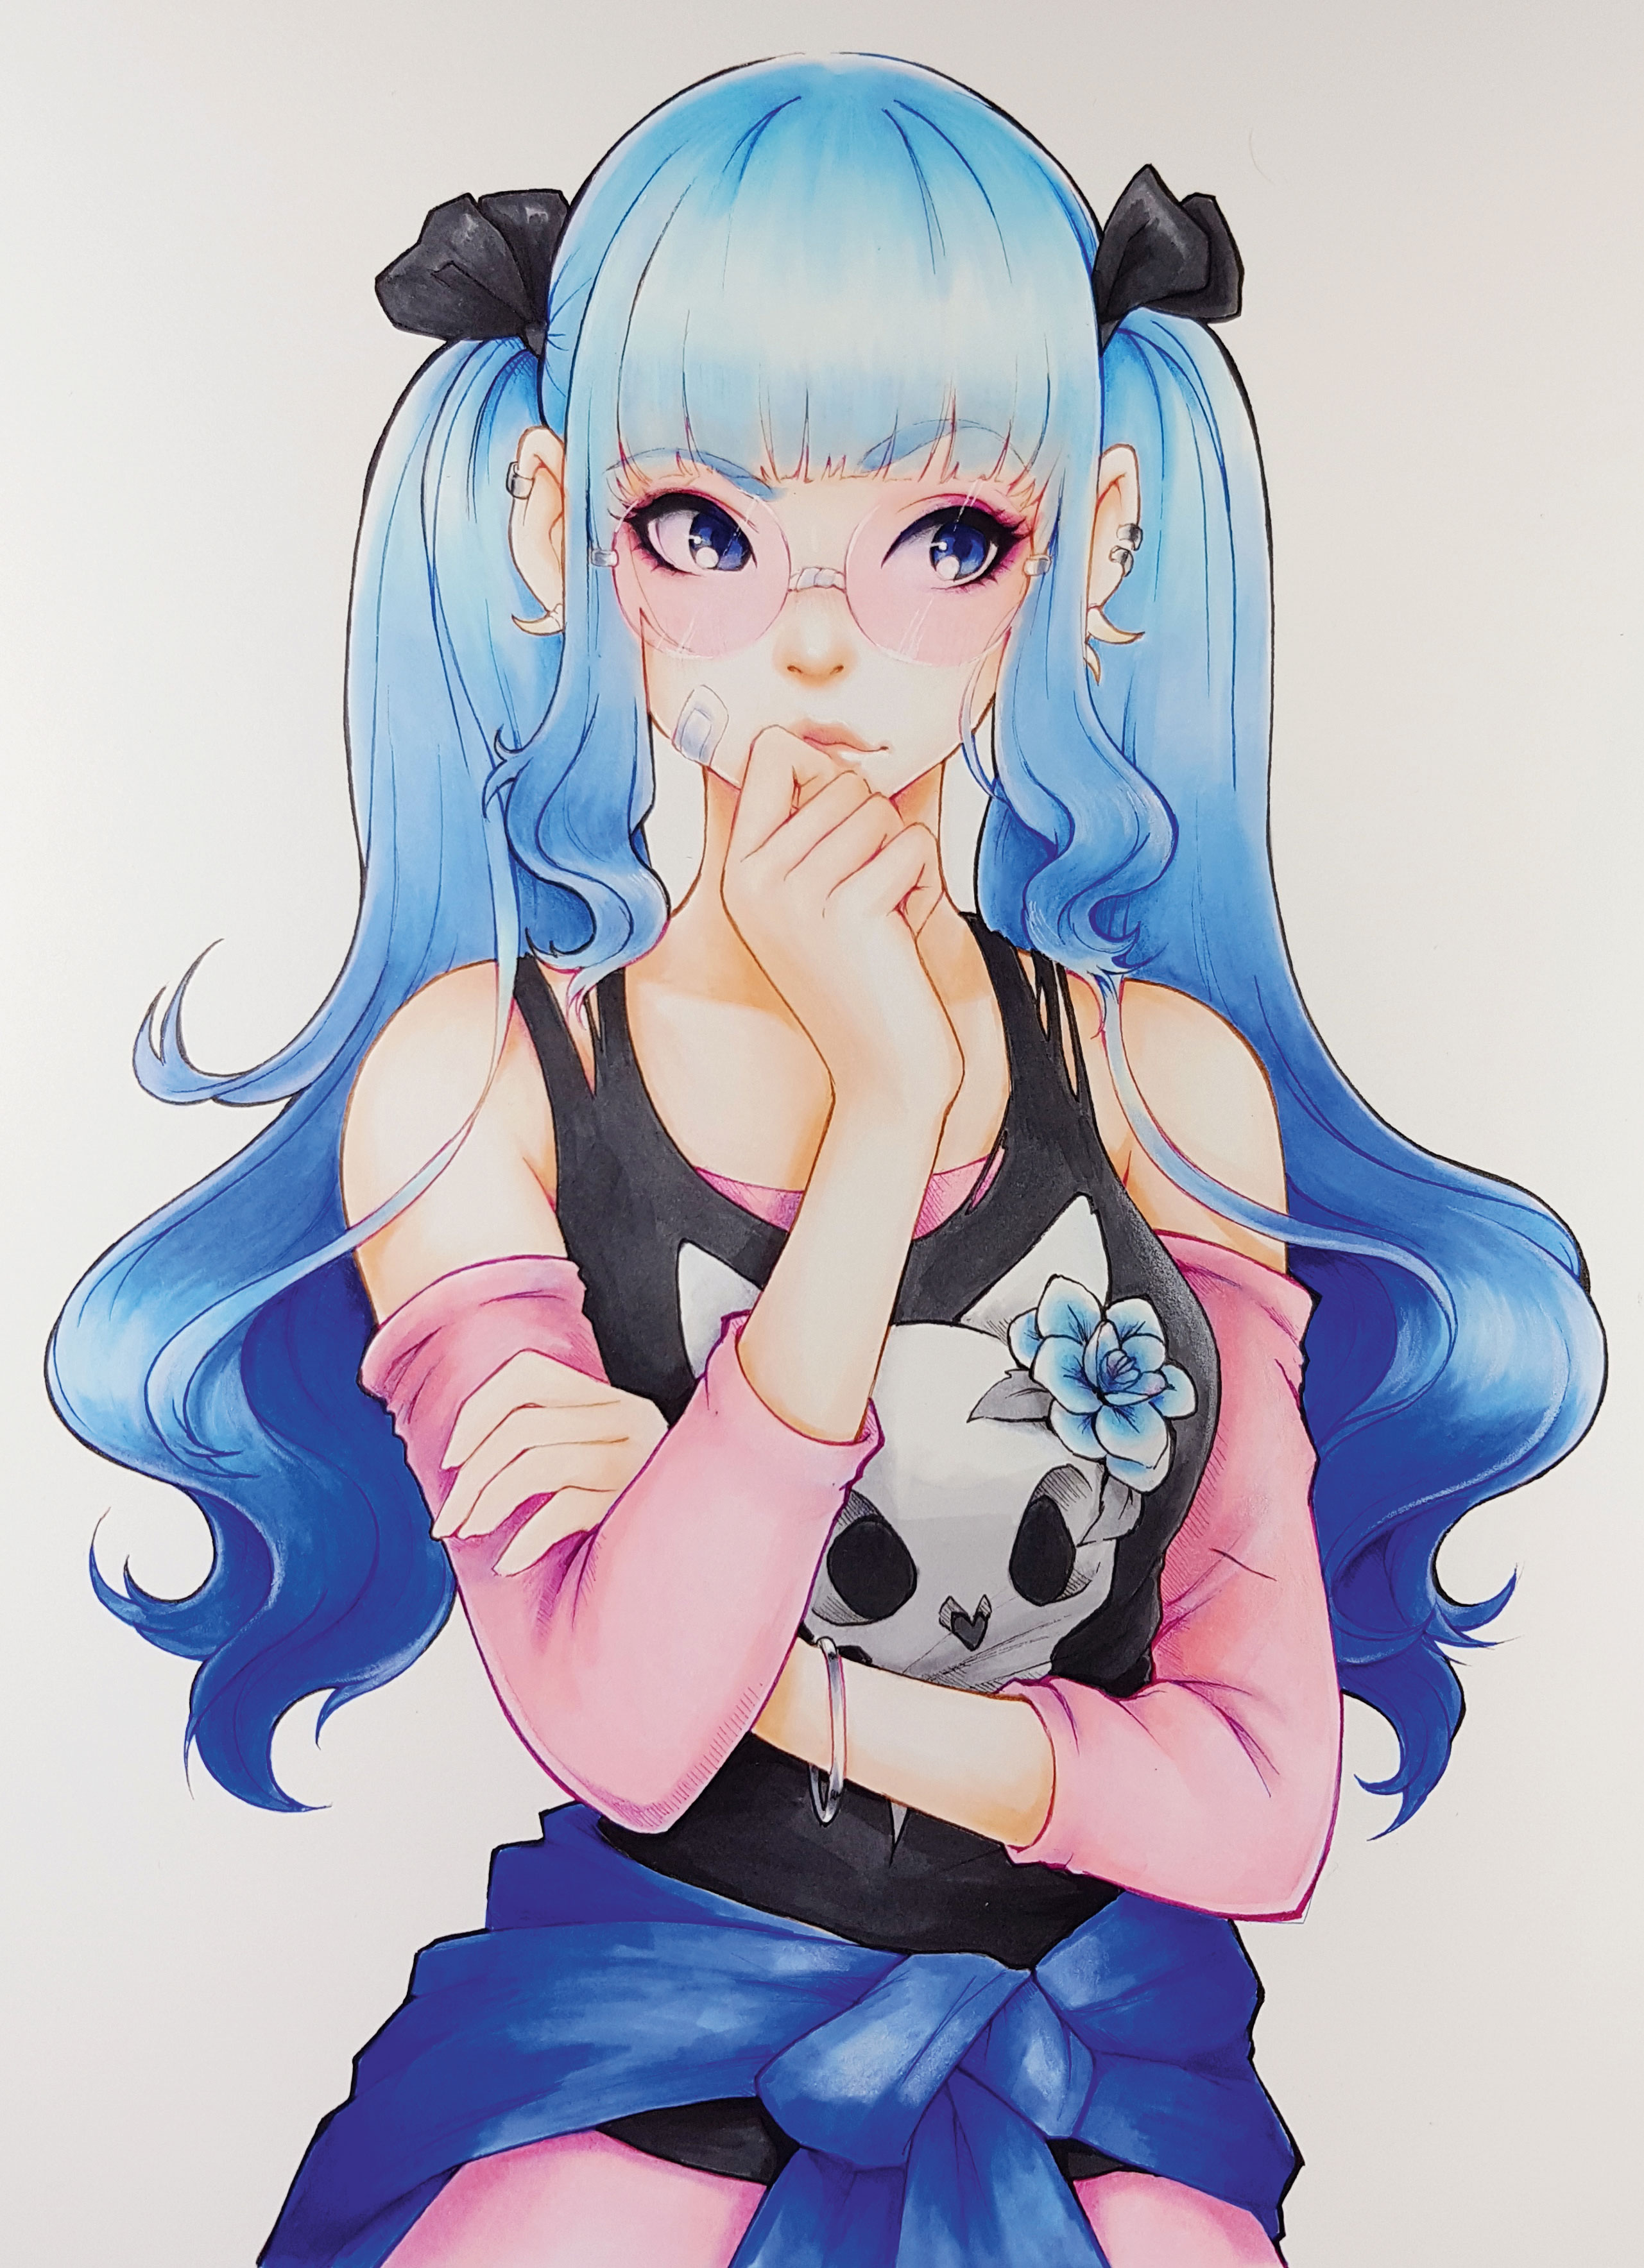
For this workshop I challenged myself to come up with a simple character pattern, generally to focus on and demonstrate how I use Copic Markers (run across this Black Friday Copic marker postal service if you lot demand your own markers), but don't be deceived! The character and the pose may be elementary, but I equipped this girl with accessories and details that add together to her personality. At the first glance she may wait innocent and harmless, but then you lot find a faint smile and one lifted eyebrow complemented by a little patch on her jaw, a sabre cat skull design on her top and hook-like earrings. Then you realise that she's upward to no good. Blue colours calm the painting and pink spectacles add to a dreamlike atmosphere.
The palette is express to three main colours: blue, black and pink. If you look closely, they not simply work well together, but they're also composed in harmony wherever I've added them to the paper.
Each colour is featured in no more than three elements: blueish (hair, blouse and rose); pink (glasses, sleeves and cloth at the bottom of the page); black (her top and the two ribbons tying her twin ponytails). This adds rhythm and harmony to the painting.
In addition to the pace-by-step breakdown, my video for this workshop (above) besides reveals some tips on how I achieve my smooth marker blends. Be sure to check it out!
01. Experiment with sketches
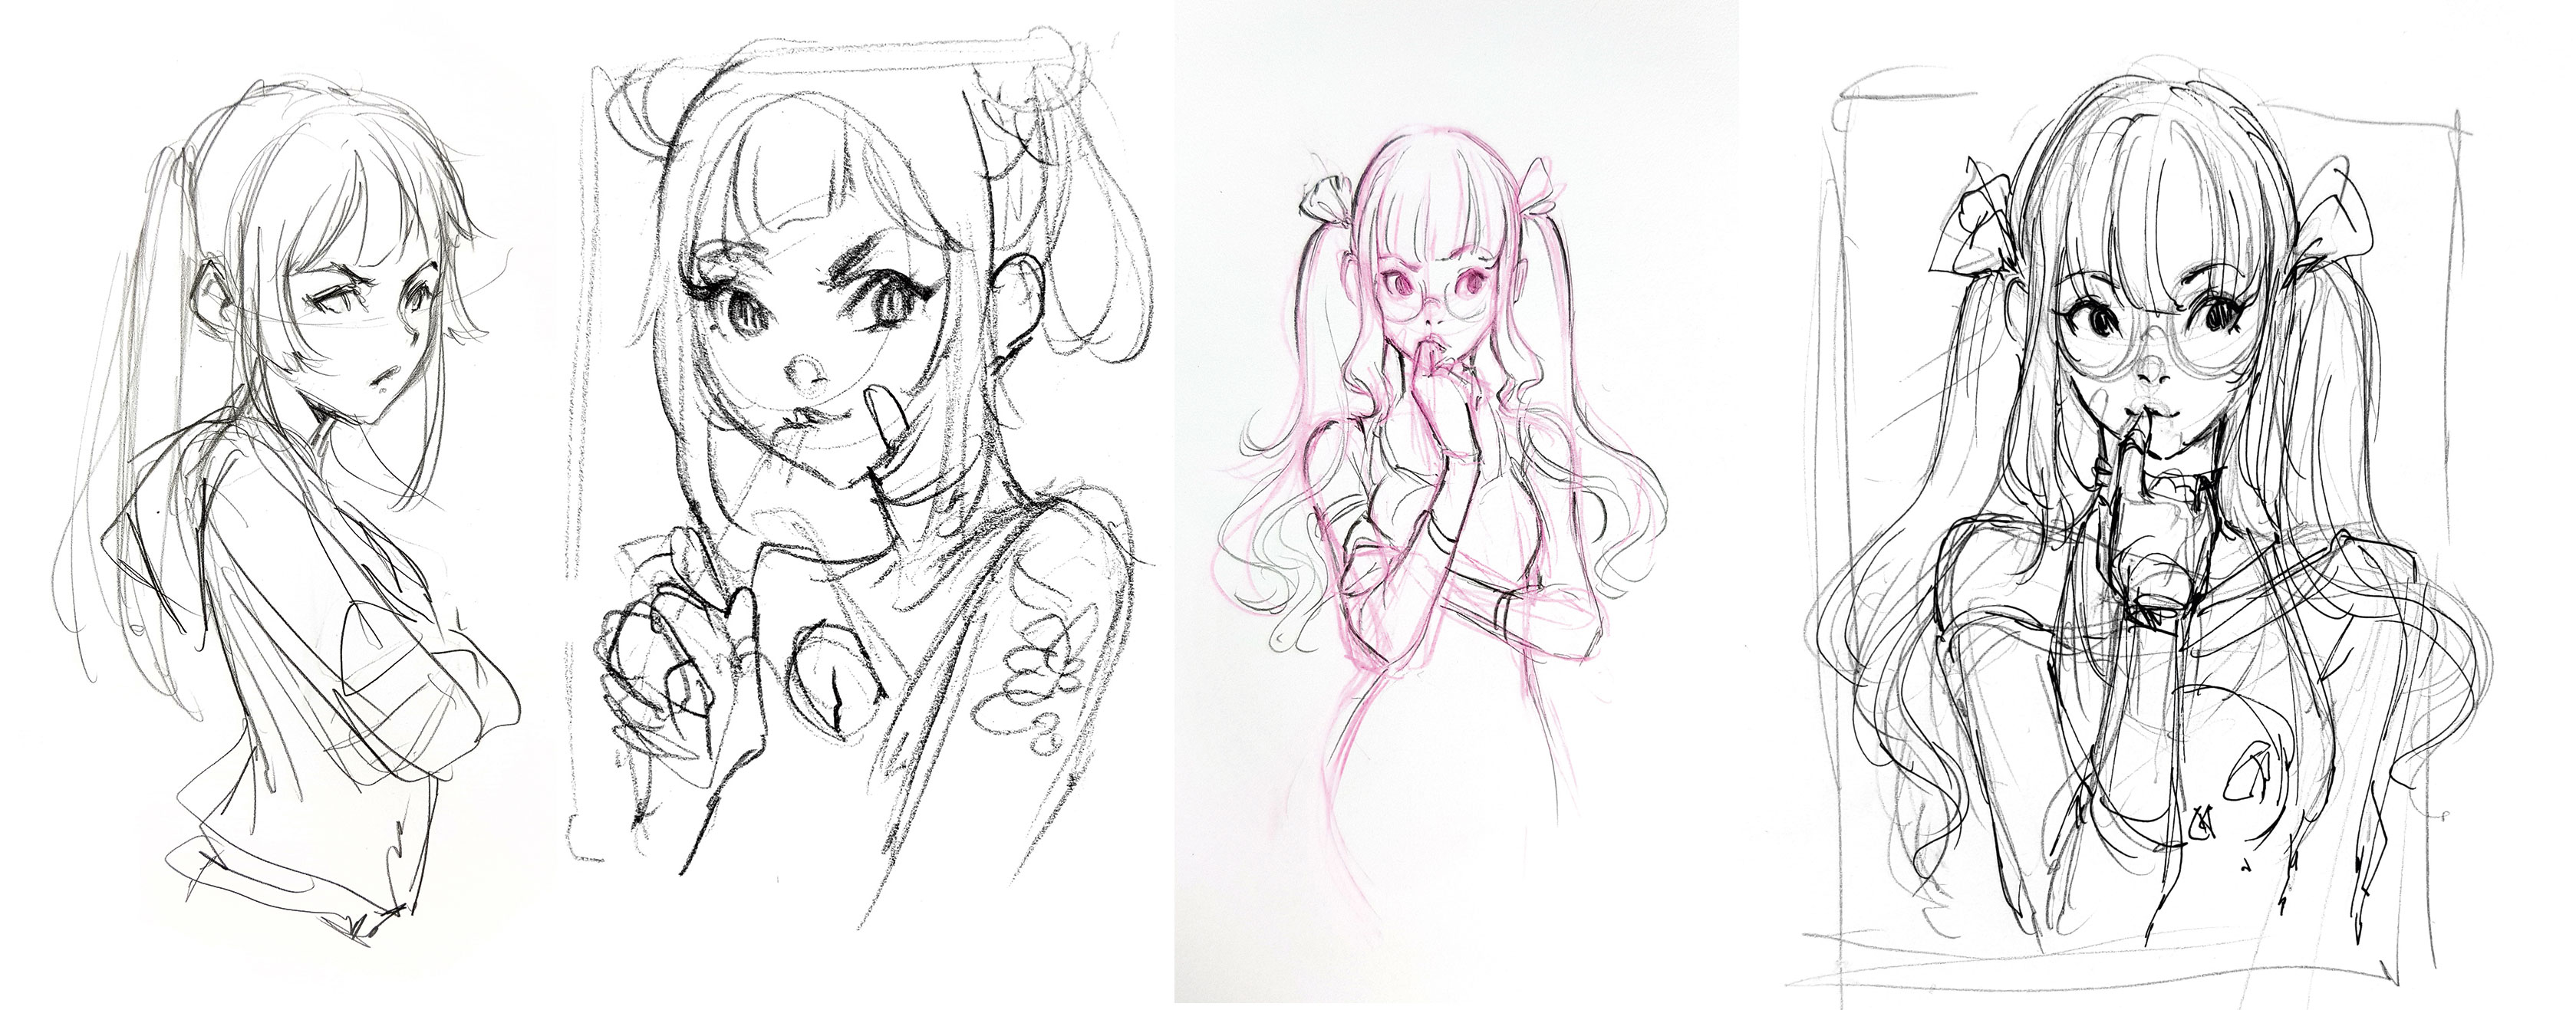
It's okay to spend time developing ideas – sketching them out for a while earlier developing a terminal drawing. On a good day, it tin have five minutes to draw what I want, when hours of labour won't bring the same fresh and satisfying result. Take your time and proceed sketches loose.
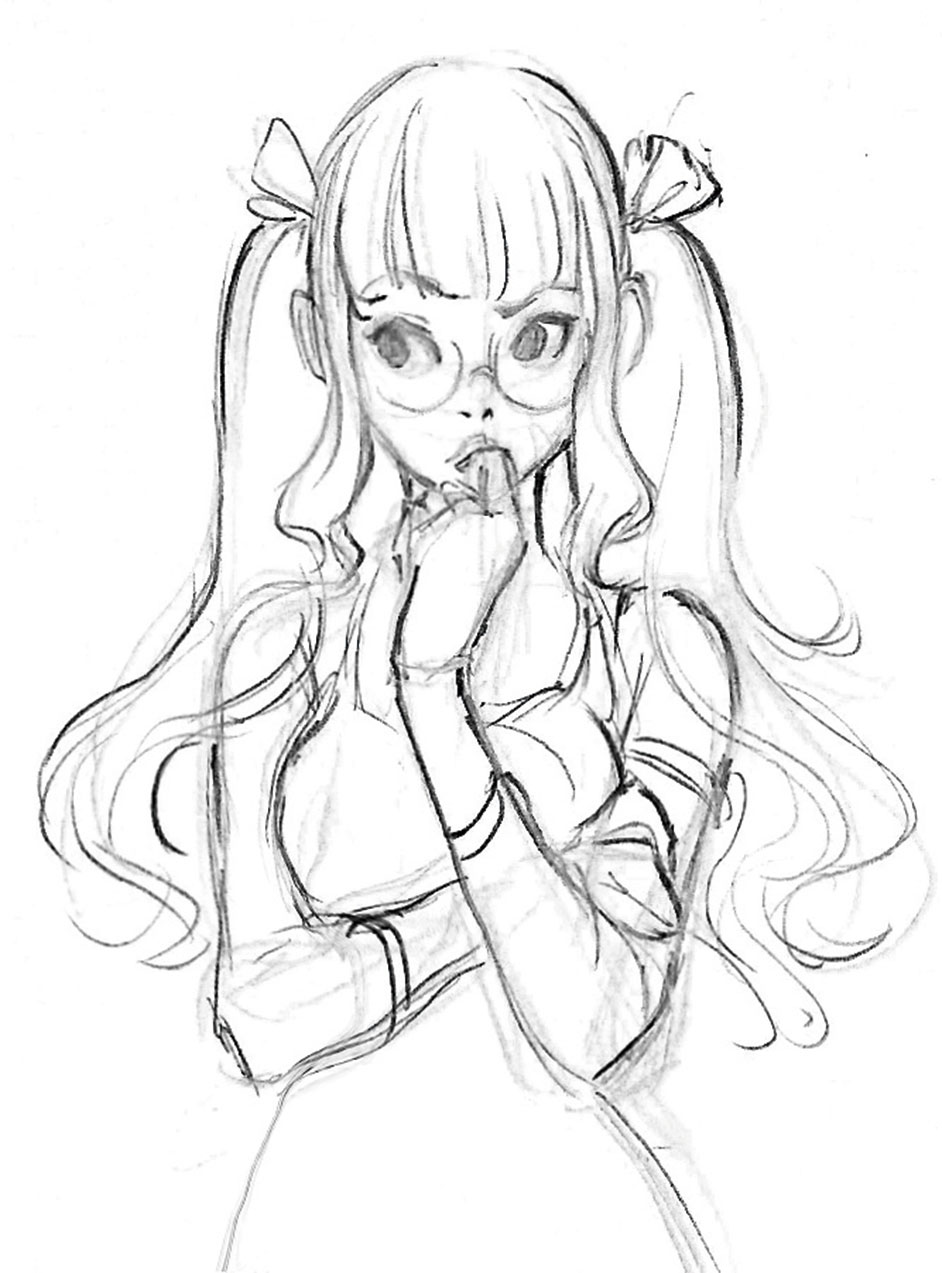
Hello Photoshop! At this stage I'd usually choose my favourite messy sketch, scan and open up it in Photoshop CC. Hither, I change the image to black and white and make use of the Liquify tool. Flipping it horizontally reveals some mistakes in the drawing.
03. Size matters!
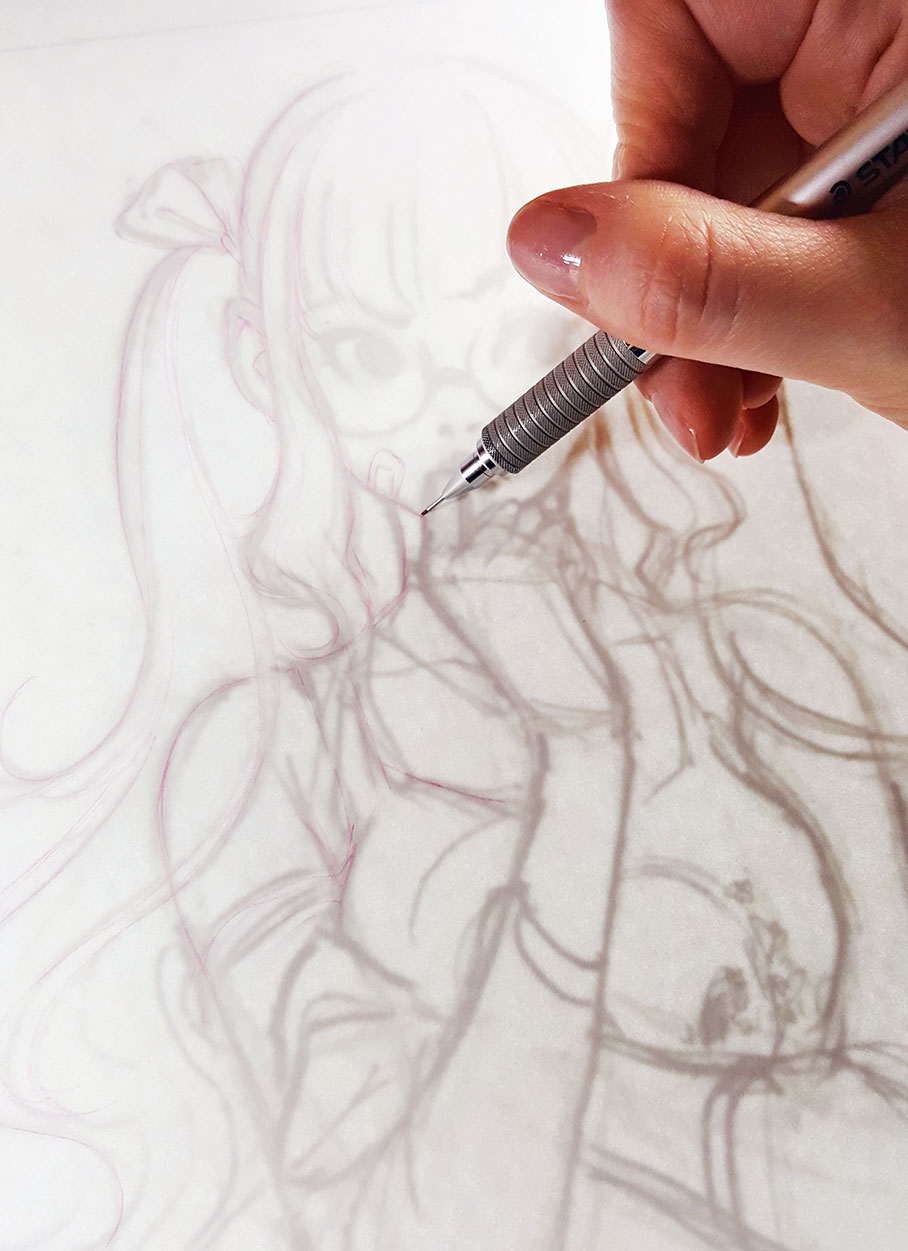
My sketches are tiny considering it's easier to command the character's proportions. It besides stops me from adding a lot of details at the showtime of the process. I calibration the design to A4 size and print out to and then transfer to a smooth watercolour paper using a light box.
04. Create starting time layer of ink
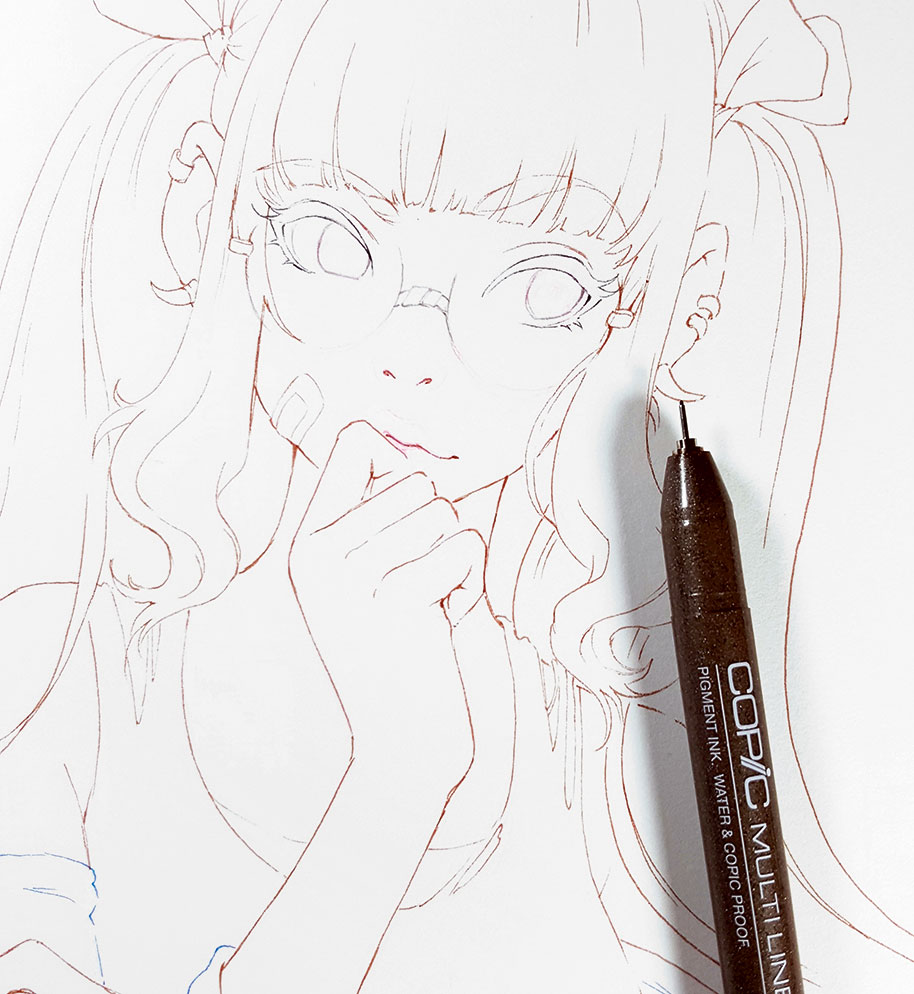
Earlier inking, I make some tweaks and add together details with pencil, and then put downward a thin line mostly with the Sepia Copic Multiliner. Sepia is a condom selection considering almost all other colours tin can cover it in the second stage of inking. Notation that ink fades when used with markers, so there'southward no need to overwork the line fine art at this stage.
05. Build color
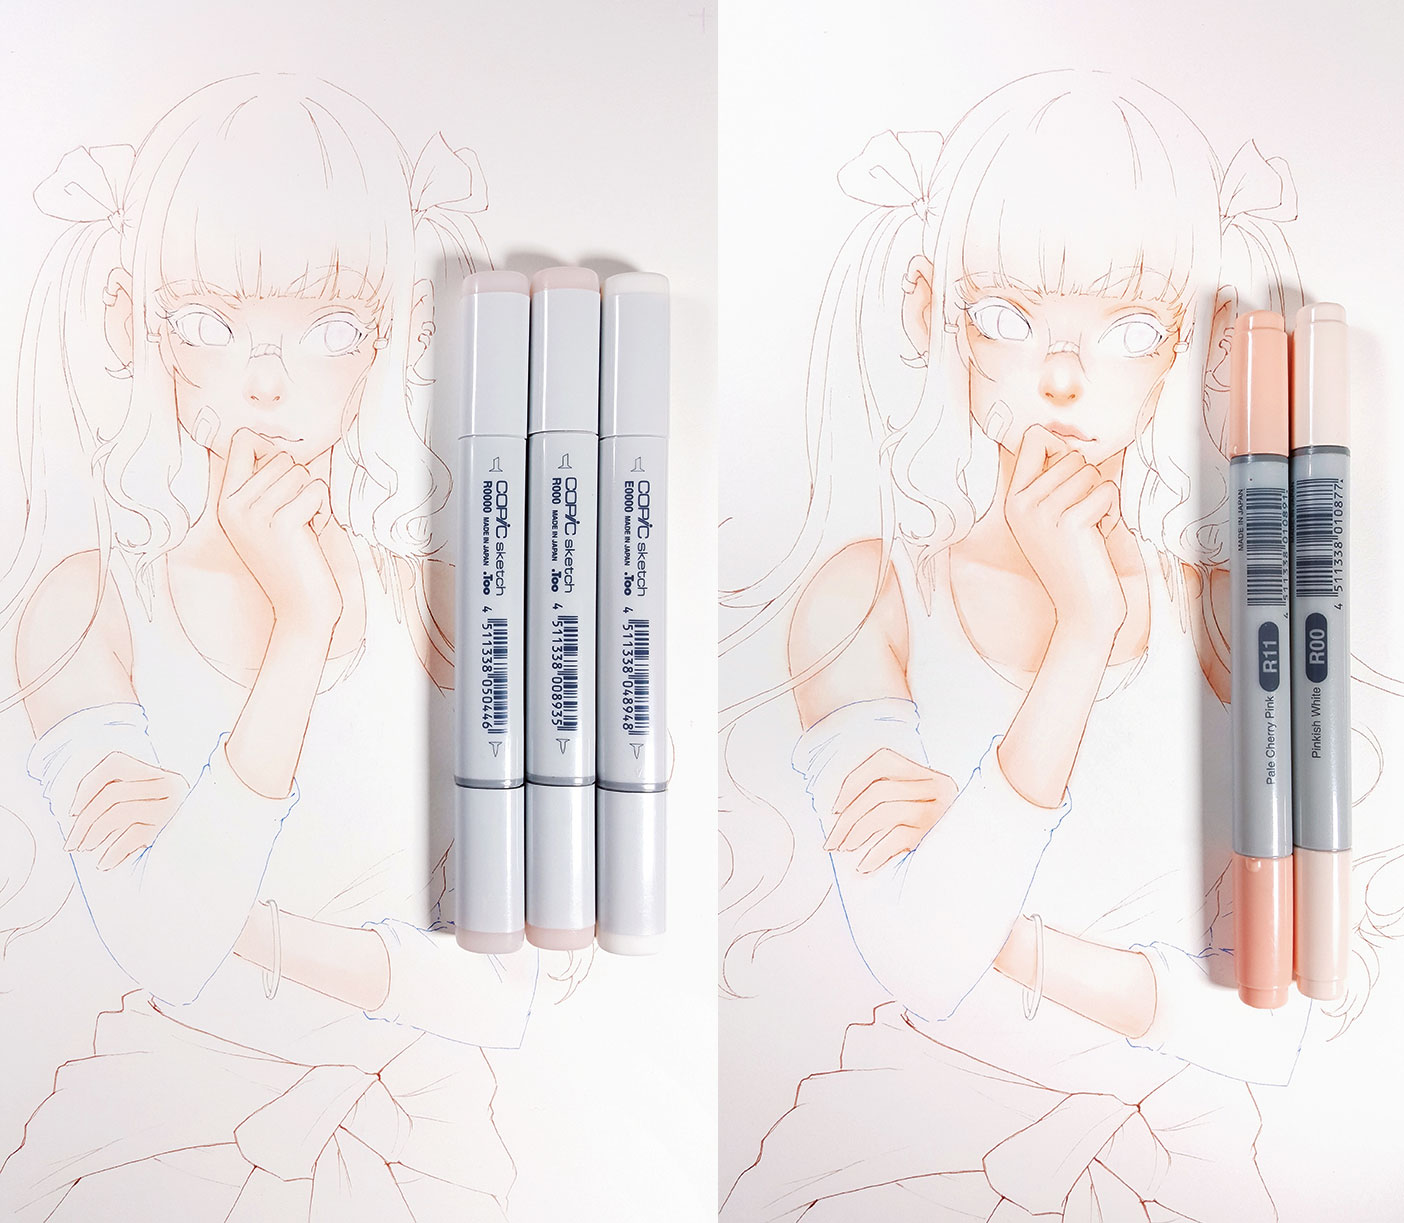
Alcohol markers tend to selection up ink that'south already on the newspaper, so it'due south best to start from the lightest parts of the limerick and build upward darker colours gradually. The tip will always find a hazard to selection up nighttime ink and create smudges. Begetting this in heed, I first colouring the skin get-go.
06. Decide on the colour palette
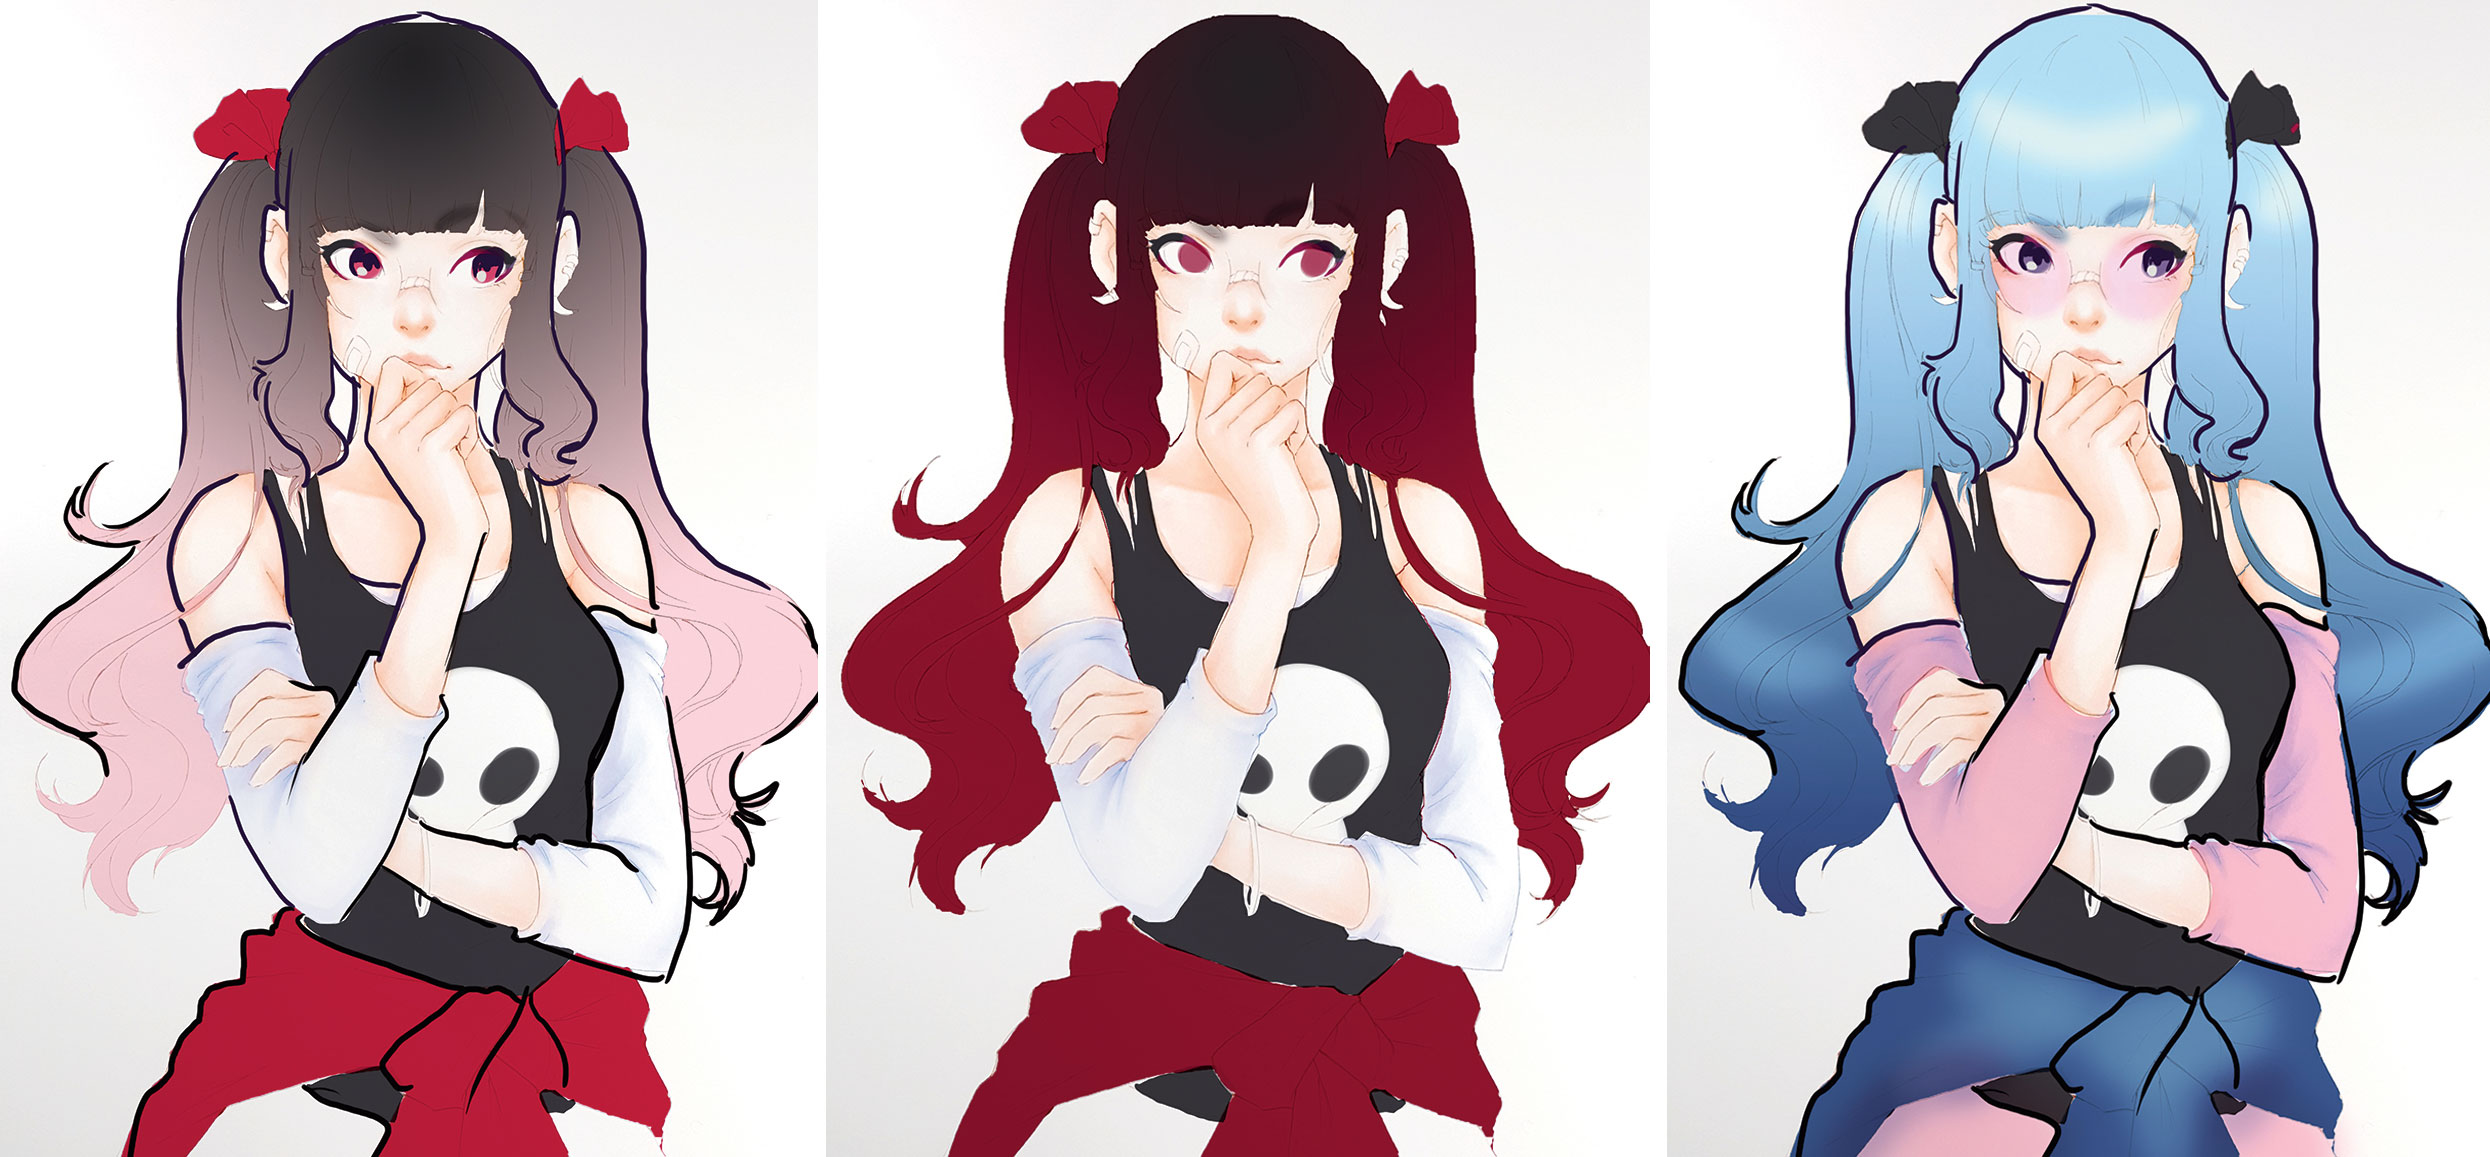
Photoshop comes in handy again! Digital software makes information technology piece of cake for me to endeavour out a range of possibilities and colour combinations, to the caste where I nigh decide to apply the colours I don't have as markers! When I'm working out a colour palette, I attempt digital colouring starting time or draw fiddling five-infinitesimal thumbnails on paper and colour them in traditionally. In the end I settle on the blue–pink–blackness palette.
07. Colour the character's hair
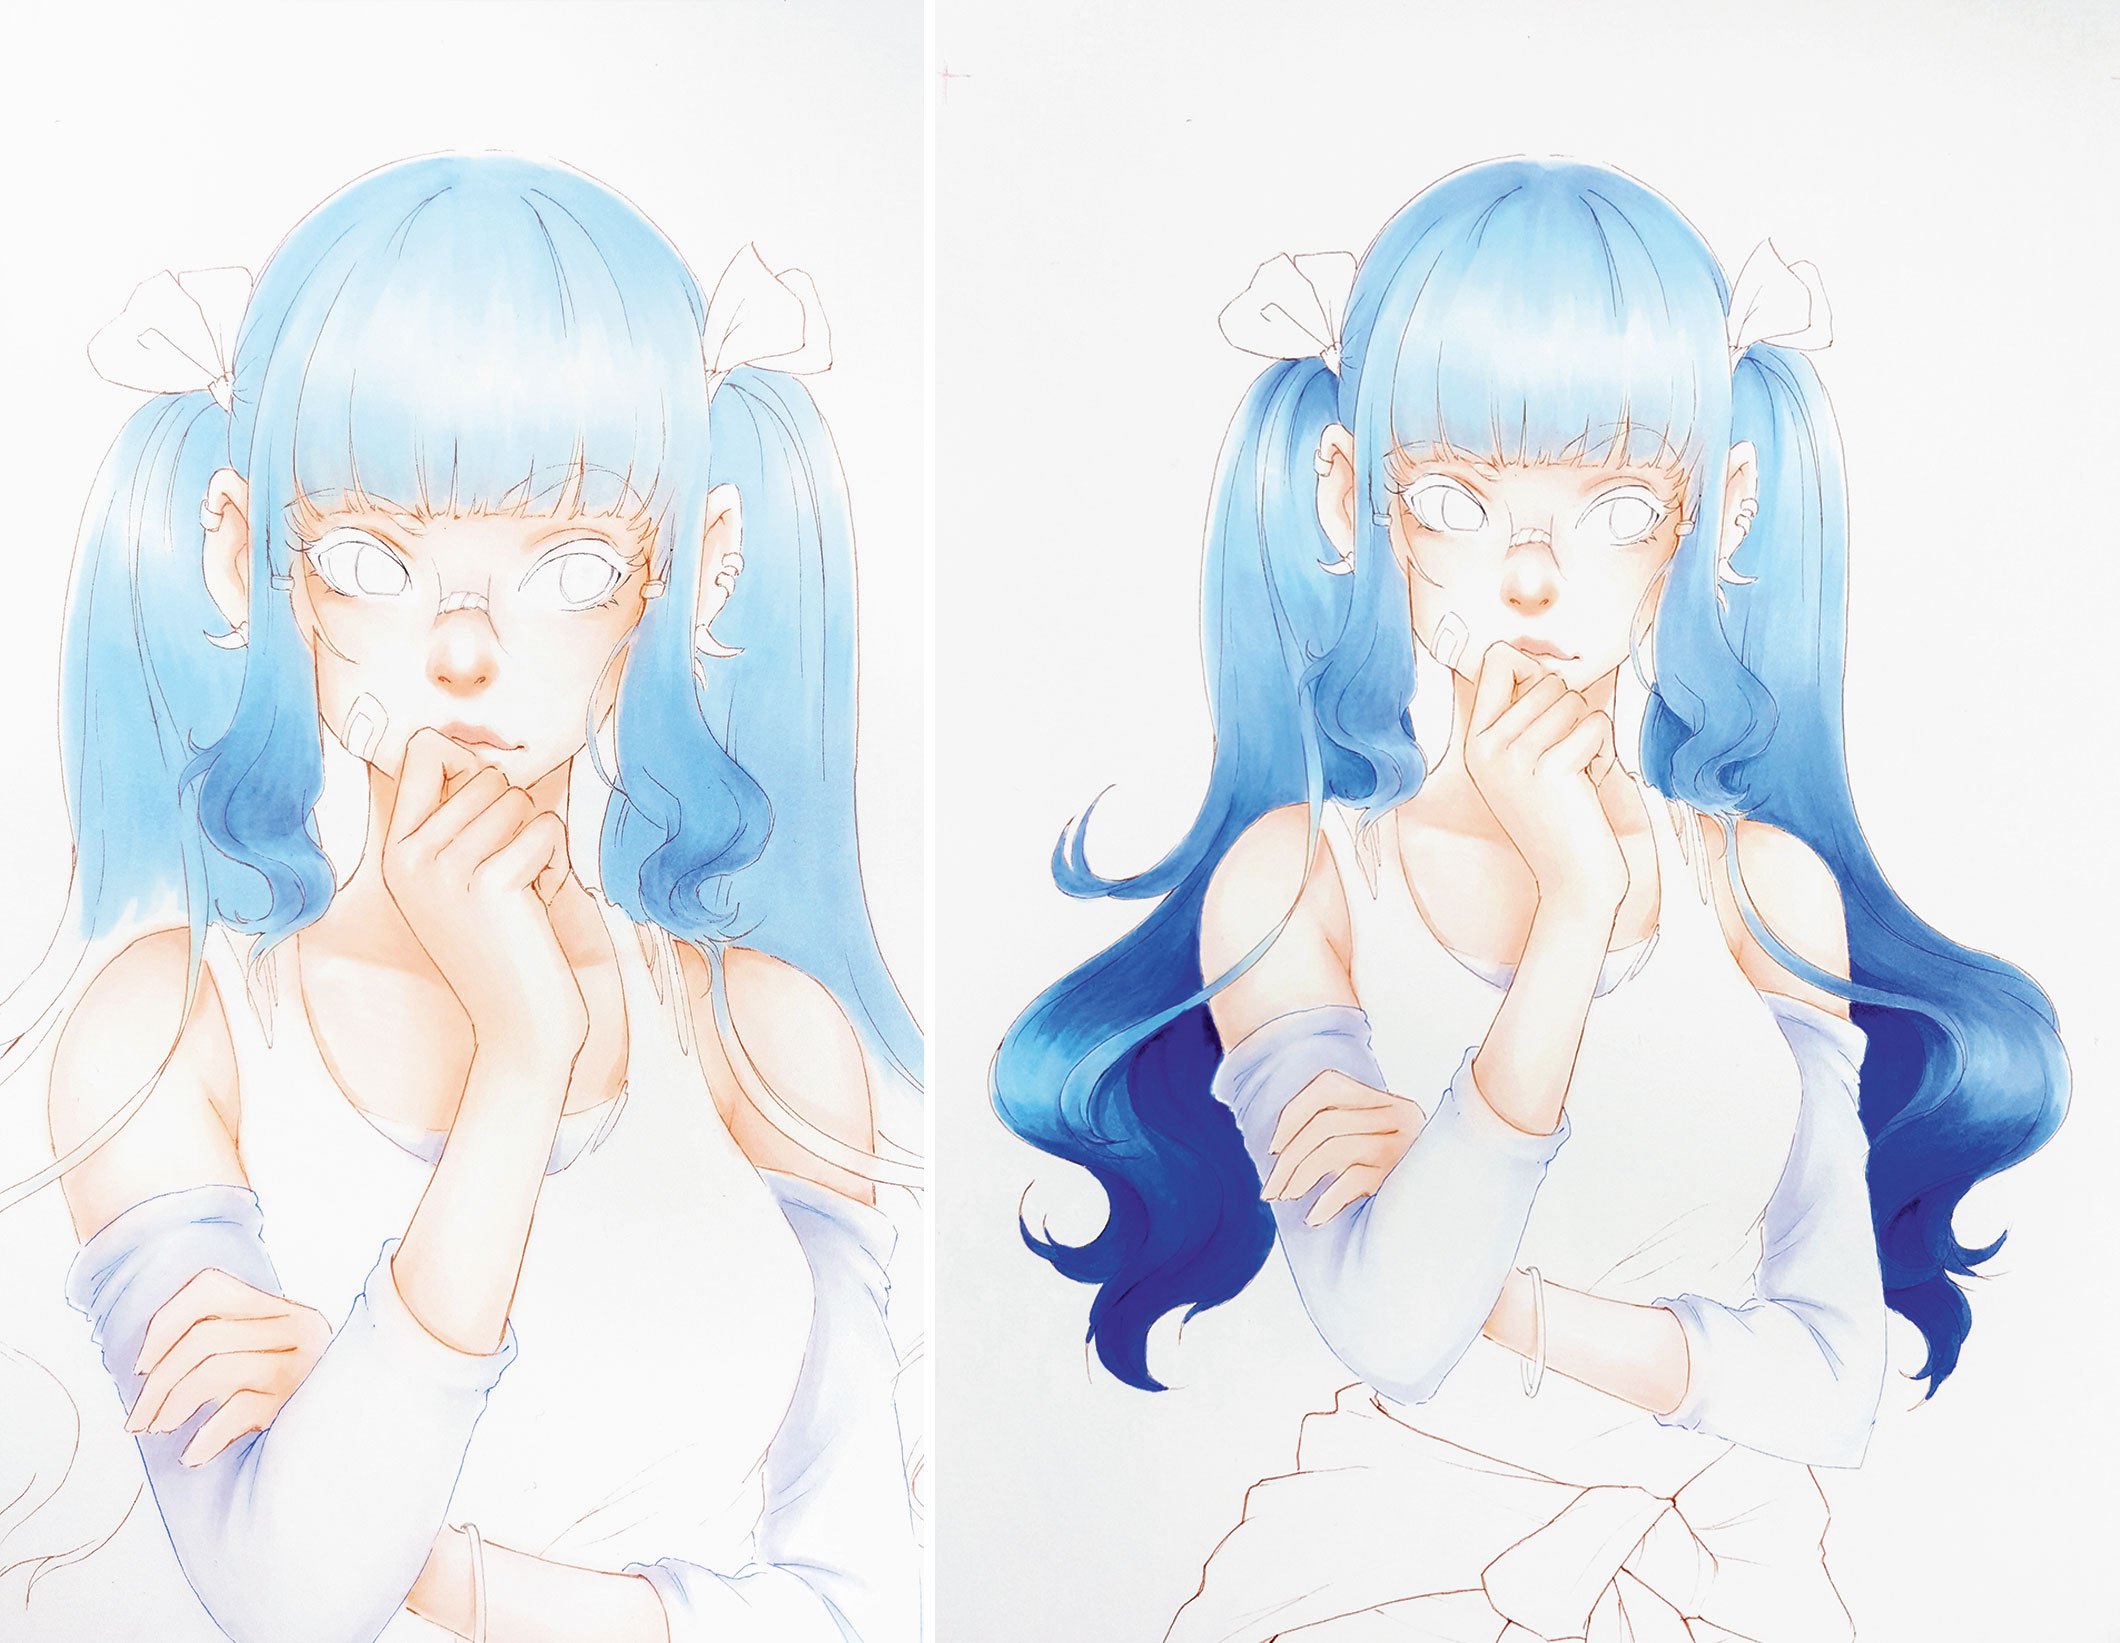
I honey using vibrant slope colours to paint hair! Copic markers can blend seamlessly and to achieve this I regularly switch between markers, using a lighter colour to create shine blends. Information technology takes some patience, only information technology'due south worth it. I would recommend blending your markers while the ink is still wet.
08. Use the magic of Copic blending
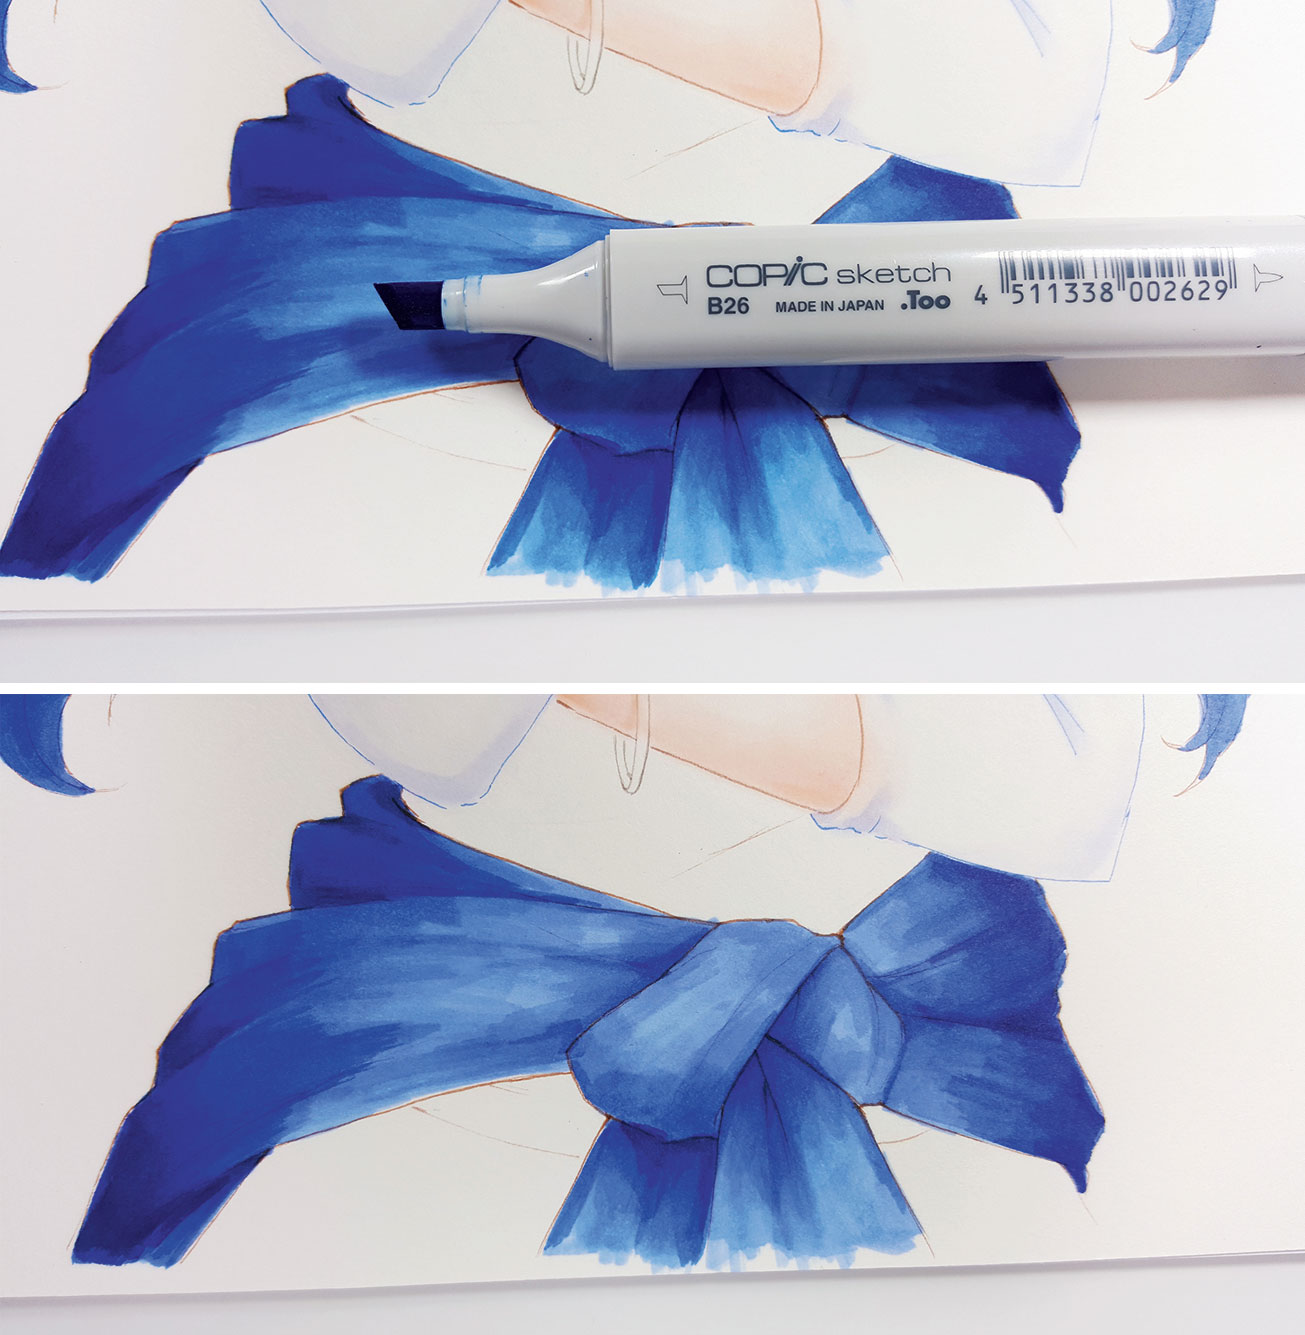
I'yard using the same colours for both the pilus and the blouse tied effectually her waist. I use the side with a brush neb for her hair, which enables me to blend softly. For the blouse I use the wide bill of the markers to create a realistic material await. Using markers with dissimilar tips makes information technology possible to create a range of textures.
09. Pattern accessories

This is the fun role of the process. Her top shows a cute sabre-toothed cat's skull with cat ears. Calculation a flower makes the cat look beautiful and complements my colour composition, which was missing a blueish accent. Her glasses, earrings, patch on her jaw and bows all come up together to create a dangerously sweetness grapheme!
10. Add second layer of ink

Now I apply a 2nd layer of line work, using various colours of multiliners. Varying the line thickness keeps things interesting. The kickoff layer has already faded with the amount of alcohol and ink involved. Time to bring information technology back!
11. Add final touches
I use coloured pencils to make barely noticeable changes to the cartoon, such every bit deepening the shadows and adding a blush to the character's cheeks. Coloured pencils complement markers well and tin can embrace modest imperfections and uneven blending.
This commodity originally appeared in outcome 163 of ImagineFX , the world'southward leading magazine for digital artists. Southwardubscribe here.
Related articles:
- How to describe a character in pen and ink
- 9 meridian tips for drawing in black and white
- 17 stunning examples of ink drawings

Source: https://www.creativebloq.com/features/create-a-character-using-copic-markers
Posted by: kennedyuted1981.blogspot.com
0 Response to "How To Draw Glass Copic Markers"
Post a Comment